How to create a campaign
About campaigns
Campaigns is where Wings really shines: they allow you to to create meaningful and effective ways that allow users to contribute to your cause by attending events, signing a petition or making a donation. A quick overview:
- Signups are simple forms that let people 'sign up', for example to receive newsletter updates.
- Events are geared towards getting people to visit an event.
- Petitions are aimed towards letting people sign a policy proposal, letter of support or some other kind of petition.
- Fundraisers will allow users to make a donation.
Campaigns on the frontend
Campaigns can be shown on the frontend in two ways:
- Every campaign gets its own 'slug'; most Wings web applications will make each campaign publicly accessible at this slug on the frontend, inside its respective campaign directory. For example, a petition with the slug
my-petitionwill typically be found atmywebsite.com/petitions/my-petition. Events, signups and fundraisers will be found in/events/,/signups/and/fundraisers/, respectively. - You can also place campaign on a regular content page or article page, by using a campaign card
](https://screens.wings.dev/CleanShot-2020-02-23-at-21.44.08-1582490660.png)
The Campaigns Overview
- Click 'Campaigns' in the Wings admin Main Menu to visit the Campaigns Overview page.
- On the Campaigns Overview page, you will find a list of saved campaigns; you may click a campaign's title to visit its edit page.
- Choose 'new' to create a new campaign page (a Signup, Petition, Event or Fundraiser).

Creating a campaign
Campaigns have quite a few options, but only a few are required to get started. Let's start with :
- A title
- An image (even that is optional)
- An introduction
- A couple of paragraphs of text

Adding custom fields
On the 'Fields' tab, you will be able to add additional fields to the ones that are present by default (which are first & last name and email address).

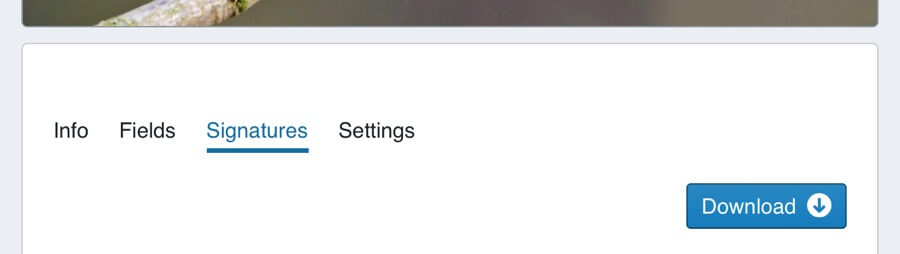
Downloading user data
On the 'Signatures' or 'Attendees' or 'Donations' tab, you may see a list of confirmed petition signers, event attendees or fundraiser donations, and/or a 'Download' button which prompts the download of a generated .CSV file.
Settings
On the Settings tab, you can configure additional settings.
Legal
On the Legal tab, you can set the paths or urls for the links to the pages where a user can find the terms & conditions, as well as the privacy policy:

Connecting third-party services
In order to submit user data to third-party services (like email newsletters and voter activation software), you can use two main methods:
- Manually download user data in CSV format
- Use webhooks to automatically send user data to a service like Zapier for smart processing, allowing to connect Wings campaigns programmatically to an unlimited number of services.
Petition Options
Petition campaigns have a couple of special options:
- By default, petitions display a counter that shows the number of people who have signed. You can hide this counter by ticking this box.
- You can offset the displayed number of people who have signed by any number.

Changing microcopy
If you want to change the default copy of a campaign, for example the Campaign firm confirm text which is We have sent you an email with a confirmation link. Please click that link for confirmation. by default, head over to the Copy tab, where you can find fields to override every string.

Note: if you want to change the default copy for every campaign, you can create your own 'translation'. Look here for instructions.
Event settings
Events have a couple of additional settings, pertaining to the event date and the location details which are displayed on the frontend as well.