How to create a fundraiser
So, you want to create a fundraiser campaign? Here, you will find all the necessary steps you have to take.
1. Configure your payment processor
In order to receive payments, you have to connect Wings to a payment processing service.
Create an account at Stripe or Mollie
We currently support Stripe and Mollie. Mollie offers slightly more European payment methods out of the box.
Users will submit a campaign form on your Wings website, but will be temporarily redirected to a secure payment environment by Stripe or Mollie to make the actual payment, before being sent back to Wings. Wings will store a record of the form submission and transaction – which allows you to process user information such as email signups for users making a donation – but the money itself goes directly to you own Stripe or Mollie account.
Look op your Stripe or Mollie credentials.
- see here how you can find your API key.
- Please visit this Stripe web page for more information.
Enter your credentials in Wings
Head over to Settings -> Commerce to fill out your credentials.

If you save your Mollie key and the Wings admin interface shows that it is 'busy', it is probably successfully saved. Just close the dialog window and you should be OK.
2. Create a fundraiser campaign
Head over to Campaigns and choose New -> Fundraiser:

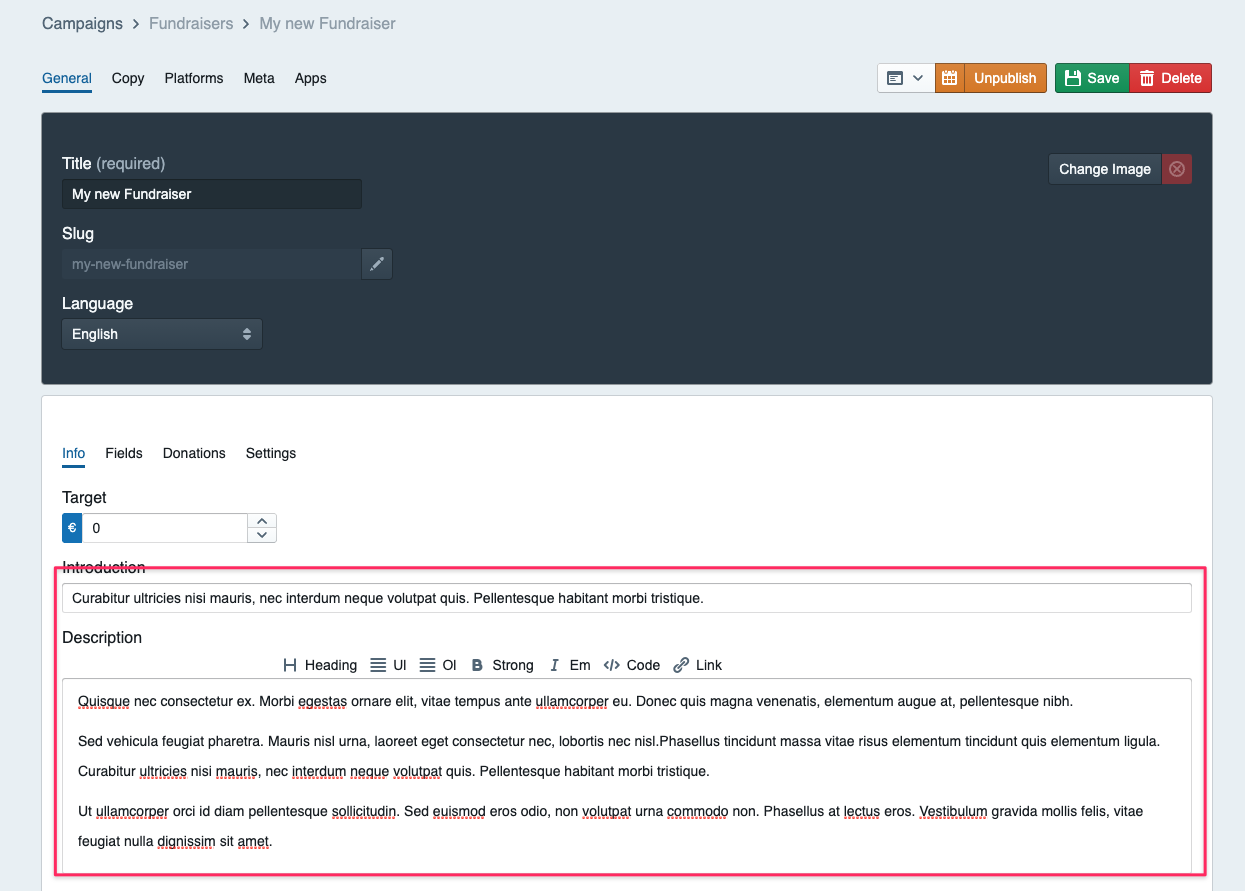
Fill out the main copy
Write the copy that will be displayed alongside the donation form:
The copy will be displayed like so:

Set a header image
Pick a nice image you want to use as a header image:

Customize the microcopy
You may want to customize the default copy strings such as the ... has been donated to this fundraiser bit. Head over to the Copy tab to do that, and submit any string you want to customize:

The result:

3. Fine-tune the settings
Now, it is time for some additional configurations.
Configure the counter
If you want to display the counter and set a target, you have to fill it out manually:

Head over to the Settings -> Fundraiser Options tab to either 1) disable the 'money raised' count and thereby hiding the counter entirely, or optionally 2) offset the displayed amount by any number.
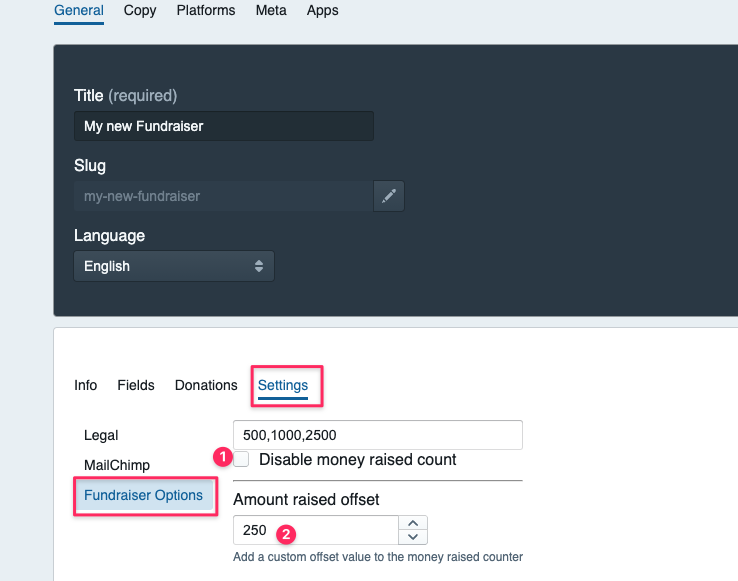
With a target of € 10.000 and a manual offset of € 250, your counter will look like this:

Add custom fields
If you want to collect more information than just name and email address, you can optionally add custom fields at the 'Fields' section.

Configure Terms & Conditions and Privacy settings
On the Settings -> Legal tab, you can:
- Disable the Terms & Conditions field if you don't have it
- Customize the Privacy Policy url or path if the default (which is usually
/privacy) is incorrect.

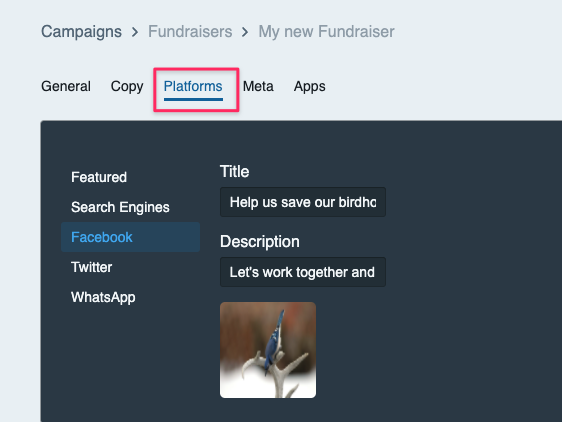
4. Optimize it for search engines and social media
Go to the Platforms tab to configure text and images for search engines and social media:
5. Publish it
Start by actually publishing your fundraiser campaign:

Then, you can use its own automatically generated page, which you will find by clicking here:

Or, you can use a campaign card on a Page or Article and insert it there:

Then, you're done. Good luck launching your fundraiser!